There is a blog that I frequently visit,
The Baking Bookworm, as I am continuously on the lookout for new recipes that are safe for my family to eat.
I came across a recipe for double chocolate zucchini muffins the other day, and seeing as a coworker gifted me a huge zucchini, I thought it was the perfect time to try to make these delicious sounding treats.
Now let me tell you, they went fast. Like, really fast. I doubled the recipe but in a family of 6, it doesn't take much when what's on the plate is chocolate....let alone double the amount!
The recipe will be copied as identical from The Baking Bookworm's blog however, I will let you all know how I tweaked the recipe to make it nut, dairy, egg and soy free.
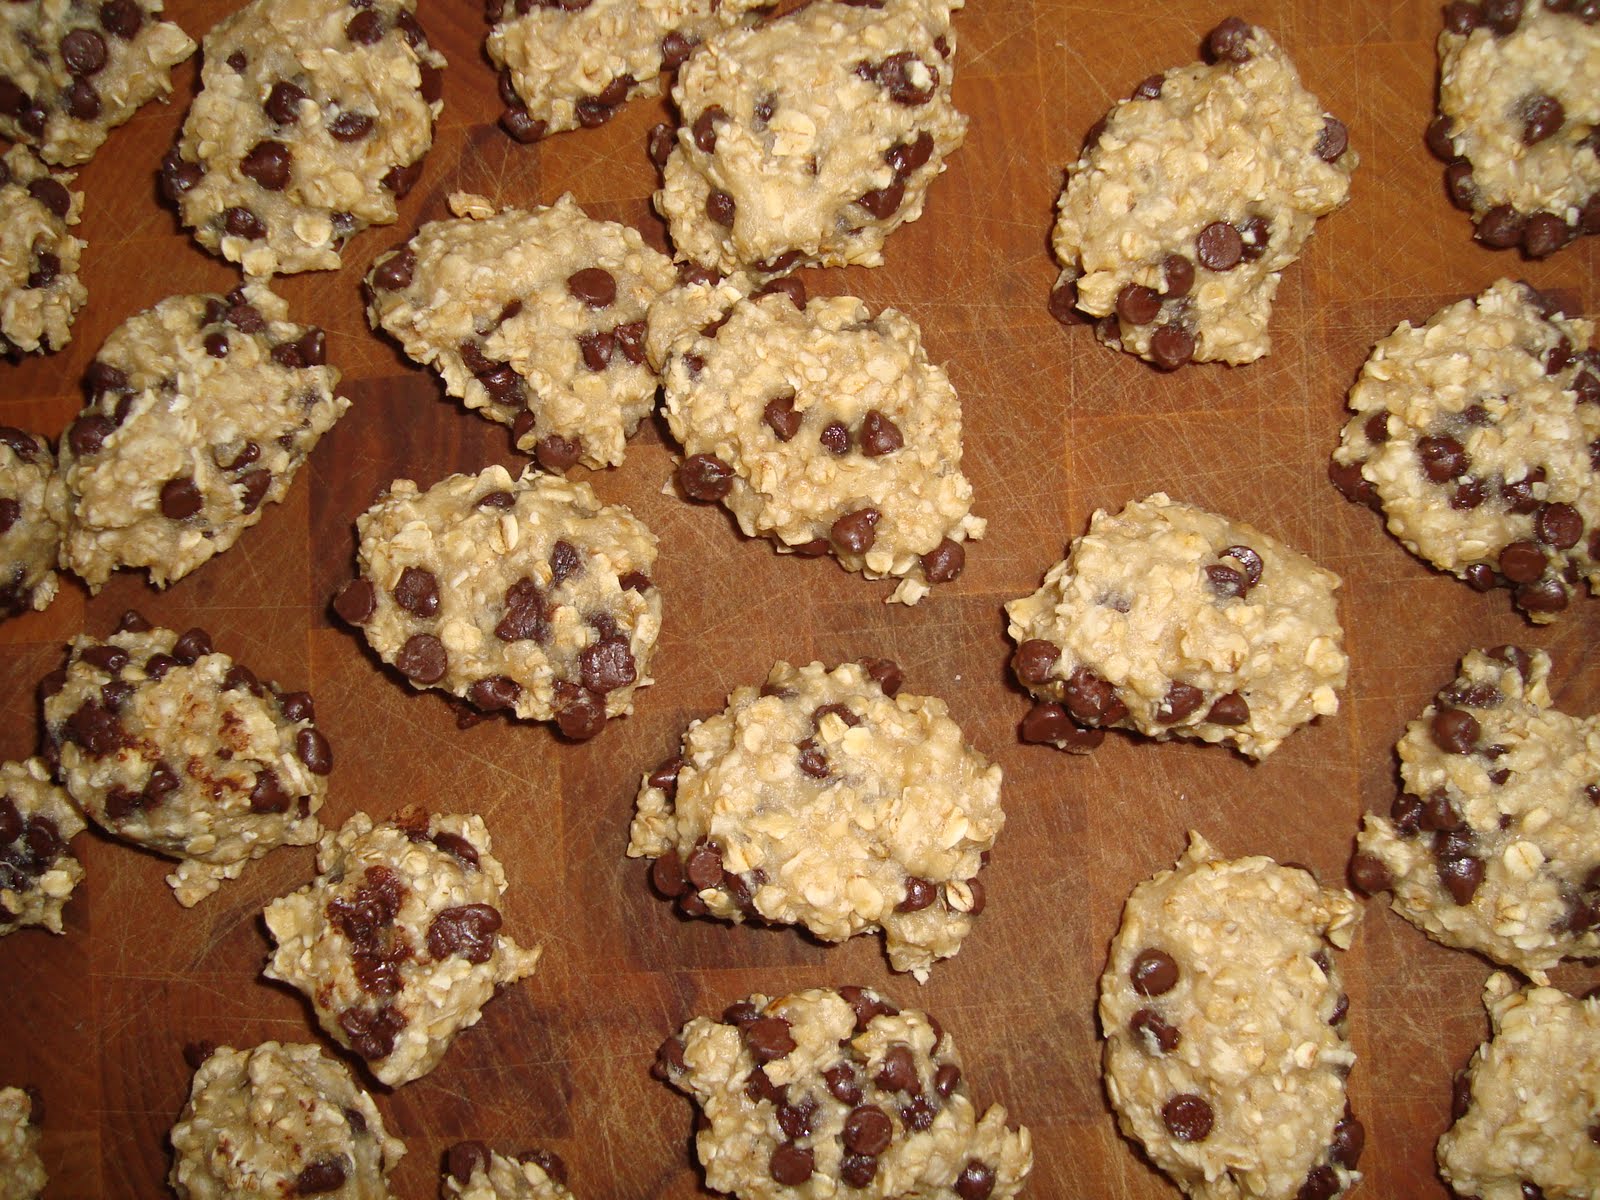
Double Chocolate Zucchini Muffins
1 cup whole wheat flour
1 cup all-purpose flour
3/4 cup white sugar
1/4 tsp baking powder
1/2 tsp salt
1/2 tsp baking soda
1/4 cup cocoa
1/2 tsp cinnamon
1/4 tsp nutmeg
2 eggs
3/4 cup milk
1/2 cup vegetable oil
1/4 cup unsweetened applesauce (one of those individual applesauce containers will do)
1 1/2 tsp vanilla
1 3/4 cup shredded zucchini
3/4 cup semi-sweet chocolate chips
Preheat oven to 350F. Grease muffin tin or use paper liners. Set aside.
In a large bowl, combine flours, sugar, baking powder, salt and baking soda. Sift cocoa into flour mixture. Add cinnamon and nutmeg. Mix well and set aside.
In a medium bowl, combine eggs, milk, oil, applesauce and vanilla. Pour wet ingredients into dry mixture. Mix until
just combined. Overmixing will produce tougher textured muffins (I cannot state this enough). Gently fold in the zucchini and chocolate chips.
Using a large melon baller (or two spoons) fill muffin cups 3/4 full. Bake for 25 minutes or until a toothpick inserted into the centre of a muffin comes out clean.
**I did find that I had to increase the baking time to closer to 35 minutes however, I did both mini muffins and regular sized muffins**
And now for the replacements!
For each egg called for, I used 1/2 tsp baking powder and 2 tbsp water.
To replace the milk called for, I used rice milk. However, you could use almond milk (if nuts are not a concern in your family), soy milk (again, if not a concern) or coconut milk.
In place of vegetable oil (which may contain soy, so please be 100% certain yours does not if soy is a concern), I used Olive Oil.
And finally, in place of regular chocolate chips, we use Enjoy Life Foods chips. You'd never know the difference by the great taste they have!
I had permission from The Baking Bookworm to repost her recipe, thanks very much! I'd also urge anyone and everyone to check out her blog (address in link at top of page), always lots of interesting and exciting stuff going on there!